Installing jcode on nix/NixOS: A Practical Unofficial Guide


jcode is an open-source AI coding agent
that runs as a local server and drives your editor. It's distributed as a
single self-contained executable, which sounds simple, until you try to run it
in a pure Nix environment: no system package manager, no Nix channels, no/usr/bin/env. This post walks through installing the official Nix build from
GitHub releases, the surprising gotchas you will hit, and how to fix them.
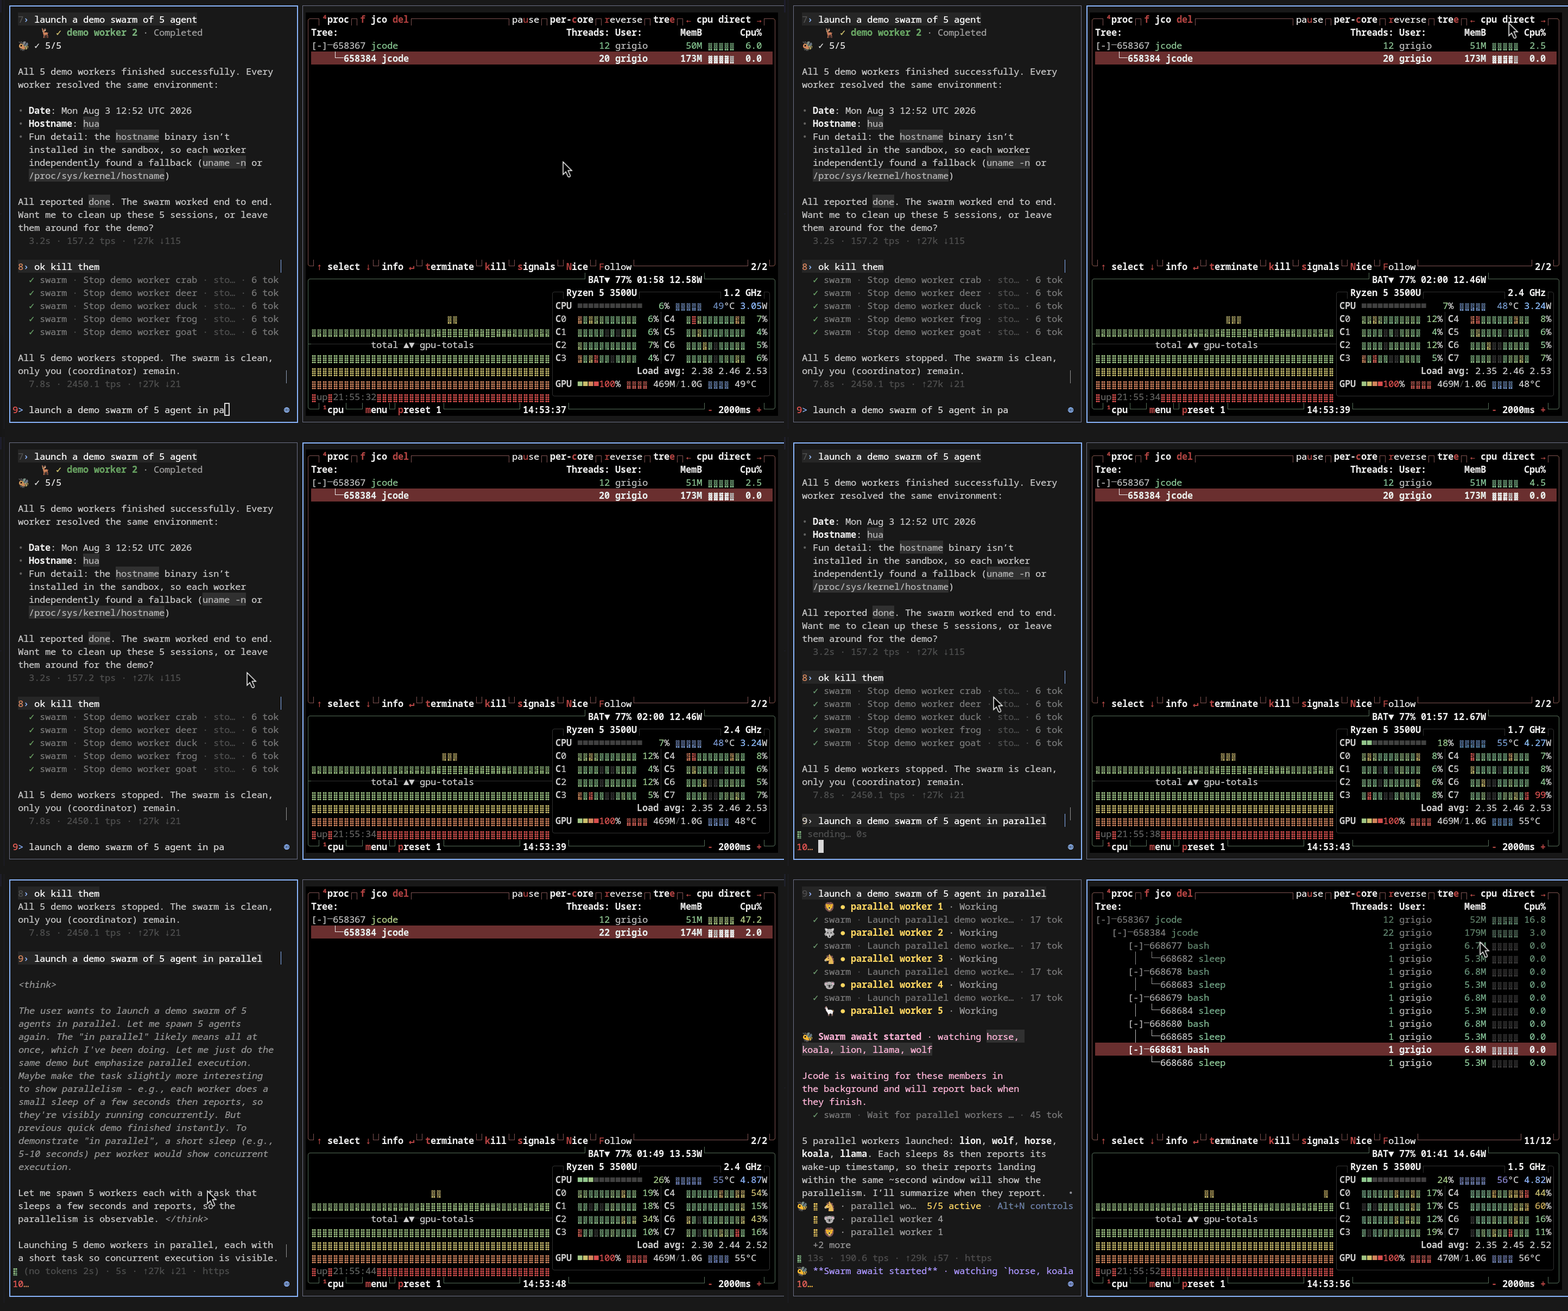
Installing jcode on Nix from the binary cache
The supported way to install jcode in a Nix project is the flake + binary
cache technique: point Nix at the signed binary cache once, then let the
flake pull the prebuilt closure. No release assets to download, no checksums to
compare by hand, no ~/.local/bin dance, no version markers.
What you need
- Nix with flakes enabled (
experimental-features = nix-command flakes): a
bwrap-nix sandbox, NixOS, or any host with nix installed. The jcode binary
is dynamically linked against the glibc shipped in the store, so the store
must be present at runtime (Nix guarantees this for anything it installs). - A writable
~/.config/nix(for the one-time cache configuration) and a
writable home for jcode's own state under~/.jcode. - No
curlorsha256sumneeded. Nix downloads the closure and verifies
every store path against the cache's signing key before it is used.
Step 1: Configure the binary cache (once)
The cache serves the same store paths the flake evaluates, signed with a key
whose public half is the trust anchor below. Configure the substituter and the
key once, then every install is a pure download:
mkdir -p ~/.config/nix
cat >> ~/.config/nix/nix.conf <<'EOF'
extra-substituters = https://grigio.github.io/jcode
extra-trusted-public-keys = grigio-jcode:WdqguwKdwOilH+ITvLO98qZy9x5HQ8Cl0xltHtSsUvQ=
EOF
Why this replaces sha256 verification: Nix checks the narinfo signature of
every store path against the key above. A corrupted or tampered download fails
the signature check and Nix falls back to building from source instead of
running a bad binary. There is nothing to compare by hand.
On NixOS, use the equivalent options (and keep flakes on):
nix.settings = {
  experimental-features = [ "nix-command" "flakes" ];
  substituters = [ "https://grigio.github.io/jcode" ];
  trusted-public-keys = [ "grigio-jcode:WdqguwKdwOilH+ITvLO98qZy9x5HQ8Cl0xltHtSsUvQ=" ];
};
Step 2: Install
Run once without installing:
nix run github:grigio/jcode
Install into your profile (downloads the prebuilt closure from the cache):
nix profile install github:grigio/jcode
Or build it and run the binary directly:
nix build github:grigio/jcode
./result/bin/jcode
The cache publishes both the jcode binary and its crane cargoArtifacts
dependency layer, so none of these compile anything: the dependency layer is
a build input of jcode, and with it cached the whole closure substitutes.
In a flake project
Add the flake as an input and use its default package wherever you need it:
{
  inputs = {
    nixpkgs.url = "github:NixOS/nixpkgs/nixos-unstable";
    jcode.url = "github:grigio/jcode";
  };

  outputs = { nixpkgs, ... }@inputs: {
    packages.x86_64-linux.jcode = inputs.jcode.packages.x86_64-linux.default;
  };
}
In a dev shell, pkgs.mkShell { packages = [ inputs.jcode.packages.${pkgs.system}.default ]; }.
On NixOS
Add the flake as an input and putinputs.jcode.packages.${pkgs.system}.default in environment.systemPackages
(example in the README).
Step 3: Confirm it is a real executable
The Nix build is a genuine ELF in the store, not a script:
jcode --version
# jcode v0.67.1 (nix-build)

file "$(readlink -f "$(command -v jcode)")"
# ELF 64-bit LSB pie executable, x86-64, dynamically linked,
# interpreter /nix/store/<hash>-glibc-<ver>/lib/ld-linux-x86-64.so.2
(nix-build) is the git-hash tag jcode's build script embeds when git is
unavailable inside the Nix sandbox.
Step 4: Understand jcode's runtime layout
jcode manages its own build channels under ~/.jcode/builds/:
~/.jcode/builds/
  shared-server/jcode   # what the server prefers to launch
  stable/jcode          # the stable channel
  versions/<version>/   # per-version builds installed by self-update
  shared-server-version # version marker
  stable-version        # version marker
When the client spawns the server it picks, in order:
~/.jcode/builds/shared-server/jcode(only when its version marker is
current),~/.jcode/builds/stable/jcode,- the currently running executable.
On a fresh Nix install none of the channels exist, so jcode runs its own store
ELF directly. No symlinks to create, no version markers to write, nothing to
fix. The fallback to the running executable is what makes the Nix install
"just work" with zero manual steps.
Step 5: The Nix gotcha: self-update breaks the sandbox
The Nix build is a release build, so jcode checks for updates in the background
and offers /update in the TUI. Never let it install one. Self-update
downloads an upstream release build into ~/.jcode/builds/versions/<version>/
and repoints the stable, shared-server and launcher channels at it. Some
upstream assets are wrapper shell scripts whose first line is:
#!/usr/bin/env sh
In a Nix-only environment /usr/bin/env does not exist (the env binary lives
in the store under coreutils), so execve(2) fails with ENOENT and the
server never starts. Even a self-update that downloads a plain ELF would drop
an unmanaged binary into your home directory, bypassing Nix's verification and
the cache entirely.
Under Nix, upgrade through Nix instead:
nix profile upgrade jcode                                  # profile install
nix flake update jcode && nixos-rebuild switch             # NixOS / projects
CI refreshes the cache on every upstream release, so upgrades stay downloads.
You can also disable the updater outright:
export JCODE_NO_AUTO_UPDATE=1
(--no-update disables it for a single launch.)
If a self-update already poisoned the channels (server fails to start withENOENT), reset them and the store-ELF fallback takes over again:
rm -rf ~/.jcode/builds
jcode --provider auto serve
This only removes jcode's build channels, which it recreates on demand;
sessions, config and logs live elsewhere under ~/.jcode.
Step 6: Run the server
jcode --provider auto serve
or through the flake:
nix run github:grigio/jcode -- --provider auto serve
Notes:
- Only one server instance may run per runtime dir. A second launch fails
withError: Another jcode server process is already running for runtime dir /tmp/<...>/jcode-<uid>. Kill the existing PID first, then start again. - Verify the daemon is alive with
jcode --versionor by checking the runtime
dir (/tmp/<...>/jcode-<uid>/) forjcode.sockandjcode-debug.sock.
Upgrading
Upgrading is atomic at the Nix level: a new store path is downloaded (or
built), the profile/closure symlink flips, and a running server keeps its
in-memory image plus its old store path until restart. There is no "Text file
busy" problem because the running executable is never overwritten. Old store
paths stay valid until garbage collected:
nix-collect-garbage -d
Migrating from the old release-asset install
If you previously installed jcode by downloading the jcode-nix-linux-x86_64
ELF into ~/.local/bin and symlinking the channels, those channels now take
priority over the Nix binary. Clean them once so the server uses the store
ELF:
rm -rf ~/.jcode/builds
and remove the old launcher if it is a leftover symlink into ~/.jcode
(check with readlink ~/.local/bin/jcode; delete it if it dangles).
Checklist
- [ ]
extra-substituters/extra-trusted-public-keyspoint at the cache - [ ]
nix profile install github:grigio/jcodesubstitutes from the cache (no compile) - [ ]
jcode --versionprintsjcode v0.67.1 (nix-build) - [ ]
~/.jcode/buildshas no channels, or they resolve into the Nix store - [ ] the server starts and binds its socket
- [ ] self-update is off (
JCODE_NO_AUTO_UPDATE=1) or/updateis never used
Conclusion
Installing jcode on Nix is now a two-command job: point Nix at the binary
cache once, then nix profile install github:grigio/jcode (or add the flake
input to your project or NixOS config). Nix verifies the download, installs a
genuine store ELF that jcode runs directly, and upgrades stay atomic and
cache-backed. The one rule that carries over from the old release-asset days:
never let jcode self-update into ~/.jcode/builds, because that is where the
wrapper scripts and the /usr/bin/env trap live. Upgrade through Nix and the
trap never fires.